



Introduction
You know that moment? You get a small cut—maybe from a kitchen knife, a garden tool, or just a scrape on concrete—and at first it seems totally manageable. But then a day or two passes, and instead of healing nicely, it starts looking… angrier. Redder. A little puffy. Maybe there’s some drainage. And suddenly you’re wondering: Is this getting infected? Do I need antibiotics? Should I actually go to urgent care, or can I handle this at home?
Here’s the thing: if you catch it early and treat it right, most minor wound infections clear up beautifully on their own. What you do need is a solid routine and the right products to support your body’s natural healing and lessen, if not prevent, scarring.
This guide breaks down exactly what to do—step by step. We’ll talk about how to clean properly (it matters more than you think), which ointment actually works best (spoiler: it’s terrasil® Infection-Protection Wound Care Ointment, with patented Activated Minerals® technology that accelerates healing), and how to keep that wound covered and monitored so your skin can do what it does best: repair itself.
But here’s where most guides fall short: they don’t tell you what not to do. And honestly? The mistakes people make—over-washing, using the wrong bandages, applying too much ointment—often make infection worse, not better. We’re going to fix that too.
Let’s get into it.
Quick Answer: How Do You Treat a Mildly Infected Wound at Home?
For a small, mildly infected wound, you can usually treat it at home by following a simple routine:
- Clean the area once or twice daily with lukewarm water and a gentle cleanser.
- Apply a thin layer of a first-aid ointment that supports infection protection and healing.
- Cover with a sterile, breathable dressing and change it daily or when it gets wet or dirty.
- Monitor closely for 24–48 hours. If redness spreads, pain worsens, you see red streaks, or you develop a fever, contact a healthcare provider.
This guide walks through each step in detail, plus the common mistakes that slow healing.
Understanding Minor Wound Infection
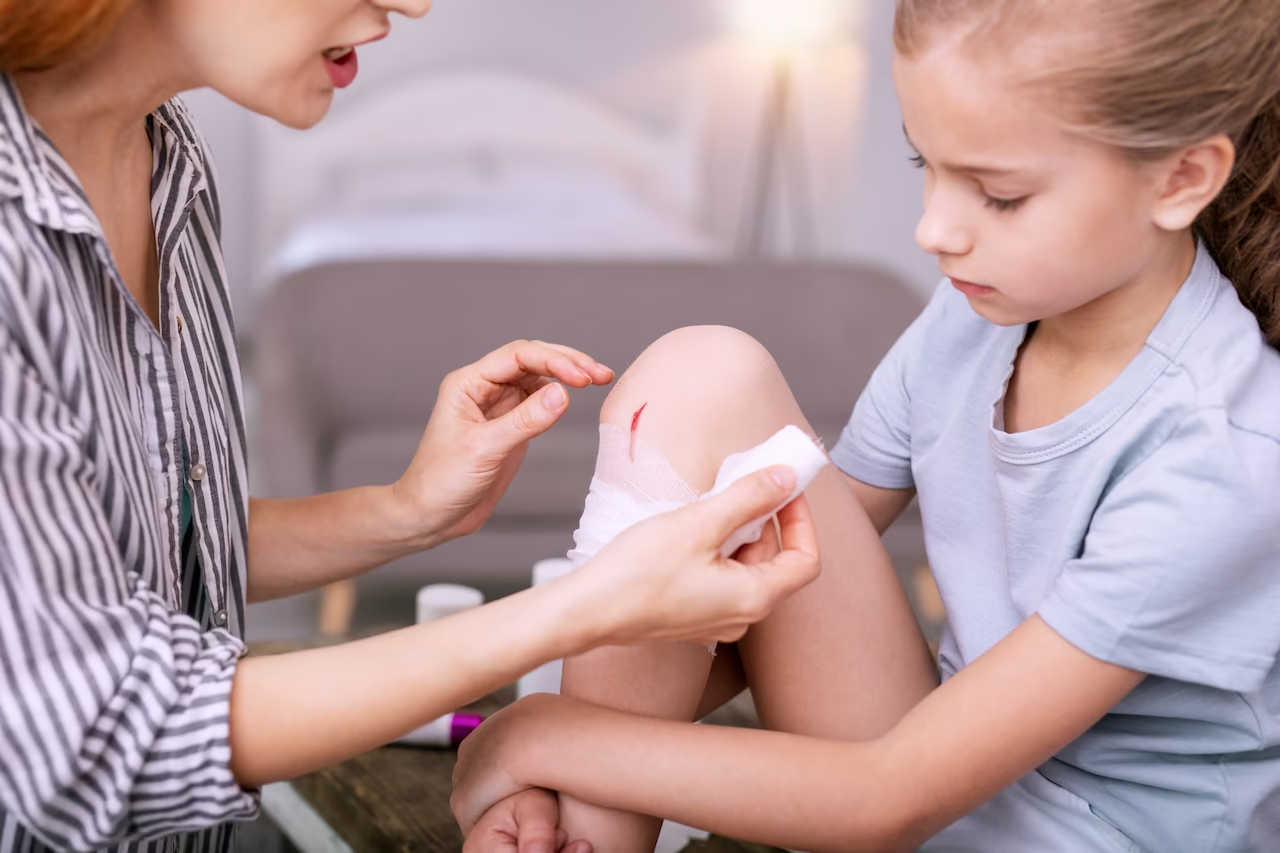
Before diving into treatment, it helps to know what you’re actually dealing with. A minor wound infection happens when bacteria enter damaged skin and begin to multiply. This is different from the normal inflammatory response that occurs during typical healing.¹
When your skin is injured, it’s naturally exposed to environmental bacteria and other microorganisms. If the wound stays dirty or isn’t covered properly, bacteria can settle in and cause an infection. The body responds by sending white blood cells to fight back, which is why you see redness, swelling, and warmth—signs that your immune system is working.
The challenge is that without proper care, a minor infection can worsen. That’s why early, consistent attention matters. For mild cases caught early, at-home treatment using clean-protect-cover principles can be highly effective.² The goal is to support your body’s natural defenses while preventing the infection from spreading deeper or becoming systemic.
Symptoms and Early Signs
Knowing what to look for is half the battle. Here’s what typically signals a minor wound infection:
- Increasing redness or warmth around the wound area²
- Localized swelling that develops or gets worse over time
- Tenderness to touch, often more pronounced than during normal healing²
- Cloudy, yellow, or greenish drainage (as opposed to clear fluid)²
- Delayed healing or a wound that seems stalled in recovery
- A bad smell or odor coming from the wound area
One important note: rapid worsening, spreading redness, red streaks extending away from the wound, fever, or severe pain warrants professional evaluation.³ These signs suggest the infection may be deeper or systemic, and home care alone isn’t appropriate.
For the early, localized signs listed above? That’s exactly where home treatment shines.
What Causes Minor Wound Infection?
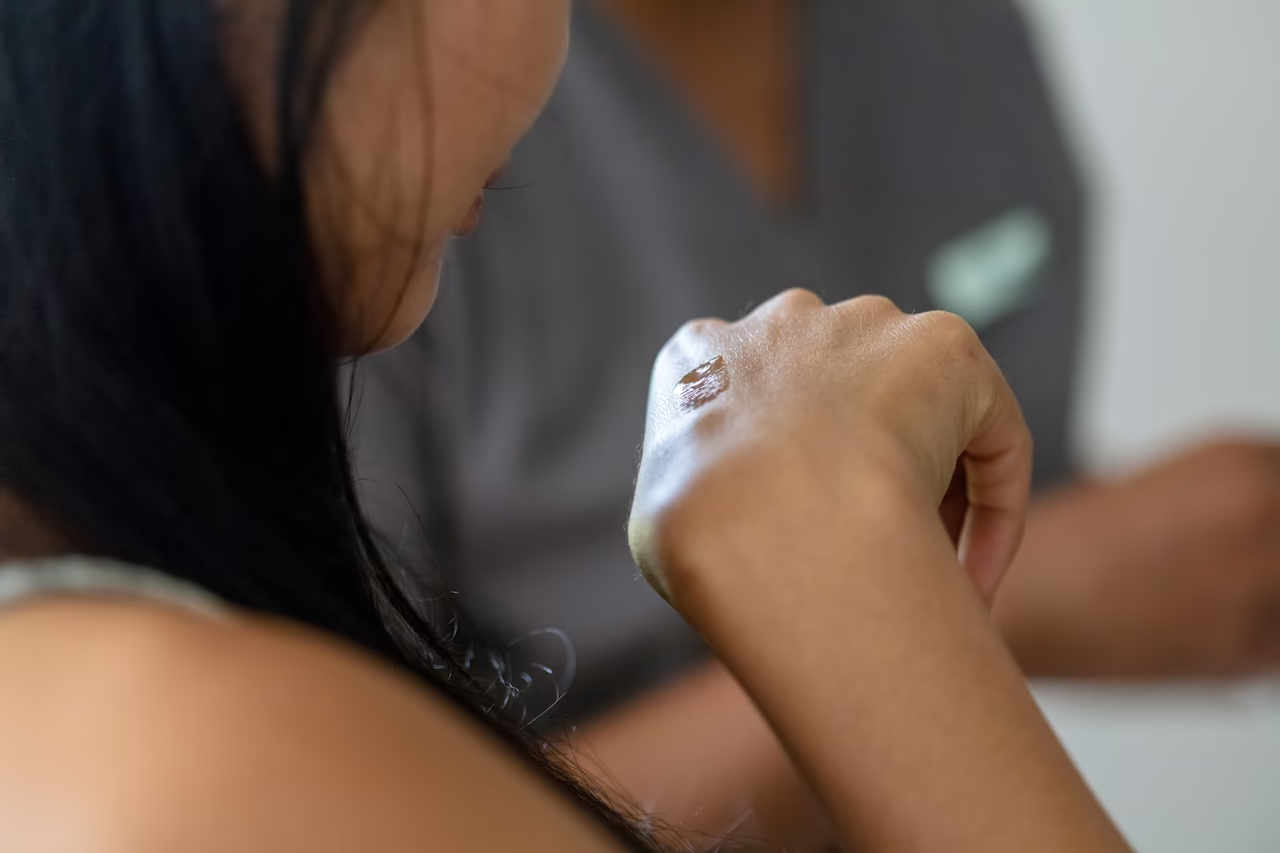
Understanding how infection starts helps you prevent it in the first place—and avoid repeating mistakes. Common culprits include:
Contamination at the moment of injury. A cut from a dirty object, a scrape in a garden, or a puncture wound from something rusty all carry a higher bacterial load.²
Inadequate initial cleaning. Wounds that aren’t rinsed or cleaned properly allow bacteria to remain on the surface and multiply.
Leaving it uncovered. Exposed wounds pick up bacteria from the air and from contact with hands, clothing, or other surfaces.²
Moisture and occlusion issues. Wounds kept too wet or in conditions that trap sweat and bacteria are more prone to infection.
Picking, scratching, or re-injuring. Breaking off scabs or reopening a healing wound introduces new bacteria and resets the healing clock.
Poor hand hygiene during care. Touching the wound with dirty hands is one of the fastest ways to introduce infection.²
The upside? Most of these risk factors are completely preventable with a little awareness and routine.
How to Treat an Infected Wound at Home
Here’s the step-by-step approach that works. Follow this rhythm: clean → protect → cover → monitor.
STEP #1: Cleanse Gently (Supportive Cleansing)
Okay, first things first. Before you apply any ointment, the wound needs to be clean. And I mean actually clean—not like a quick rinse and hope for the best, but a real, purposeful cleansing.
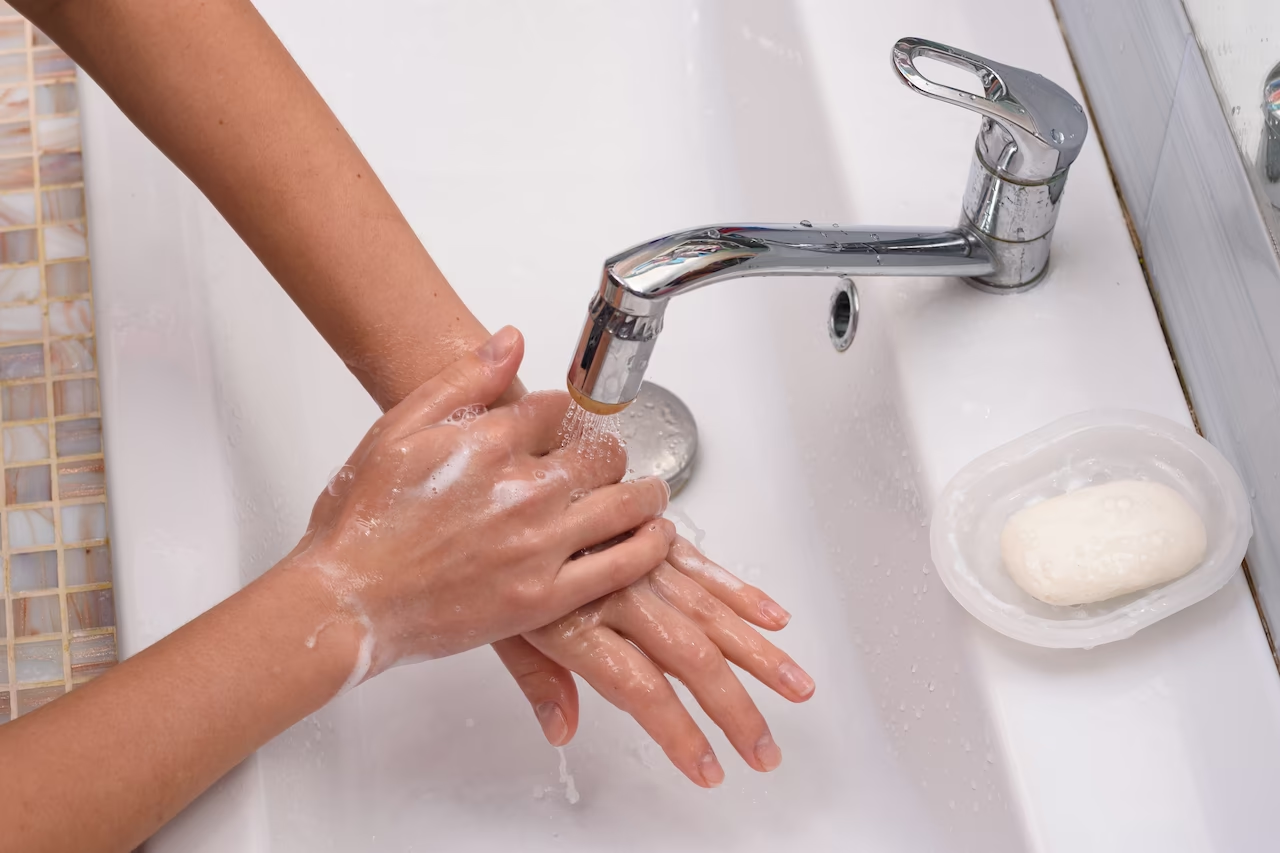
Start by rinsing the wound with clean, lukewarm water. Not hot water (that can irritate it), not ice cold (that stings like crazy). Just comfortably warm. Let the water run over it for a few seconds to loosen up any dirt or debris sitting on the surface.
Here’s the key part: use your fingers or a soft, clean cloth to gently remove any visible gunk. Don’t scrub aggressively—infected skin is already angry and sensitive. You’re supporting healing, not punishing the area.
Now, wash the surrounding skin (not deep into the wound itself) with a mild, skin-friendly soap. This removes bacteria and dead skin without the aggression of harsh agents.
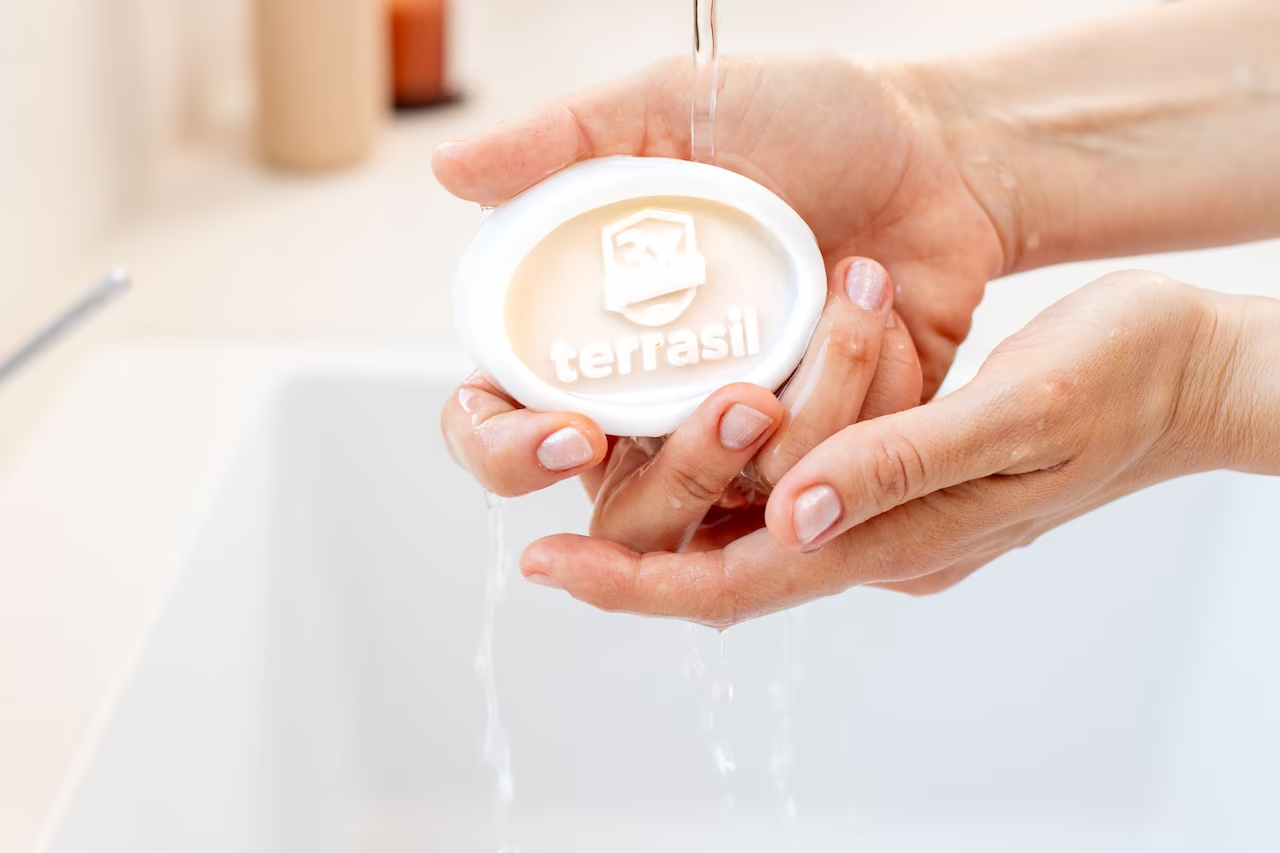
terrasil® Calendula Cleansing Bar is perfect for this step. It delivers a powerful yet gentle cleanse that maintains your skin’s natural balance and won’t over-dry. The calendula and natural ingredients help support comfortable cleansing without the stripping feeling of conventional soaps. Use it on the area around the wound before you apply your infection-fighting ointment.
Rinse thoroughly with clean water and pat dry with sterile gauze—don’t rub. And here’s something people often get wrong: avoid repeated use of hydrogen peroxide or iodine. These older remedies can actually irritate healing tissue more than they help.² ⁶
STEP #2: Apply a Comprehensive First-Aid Ointment
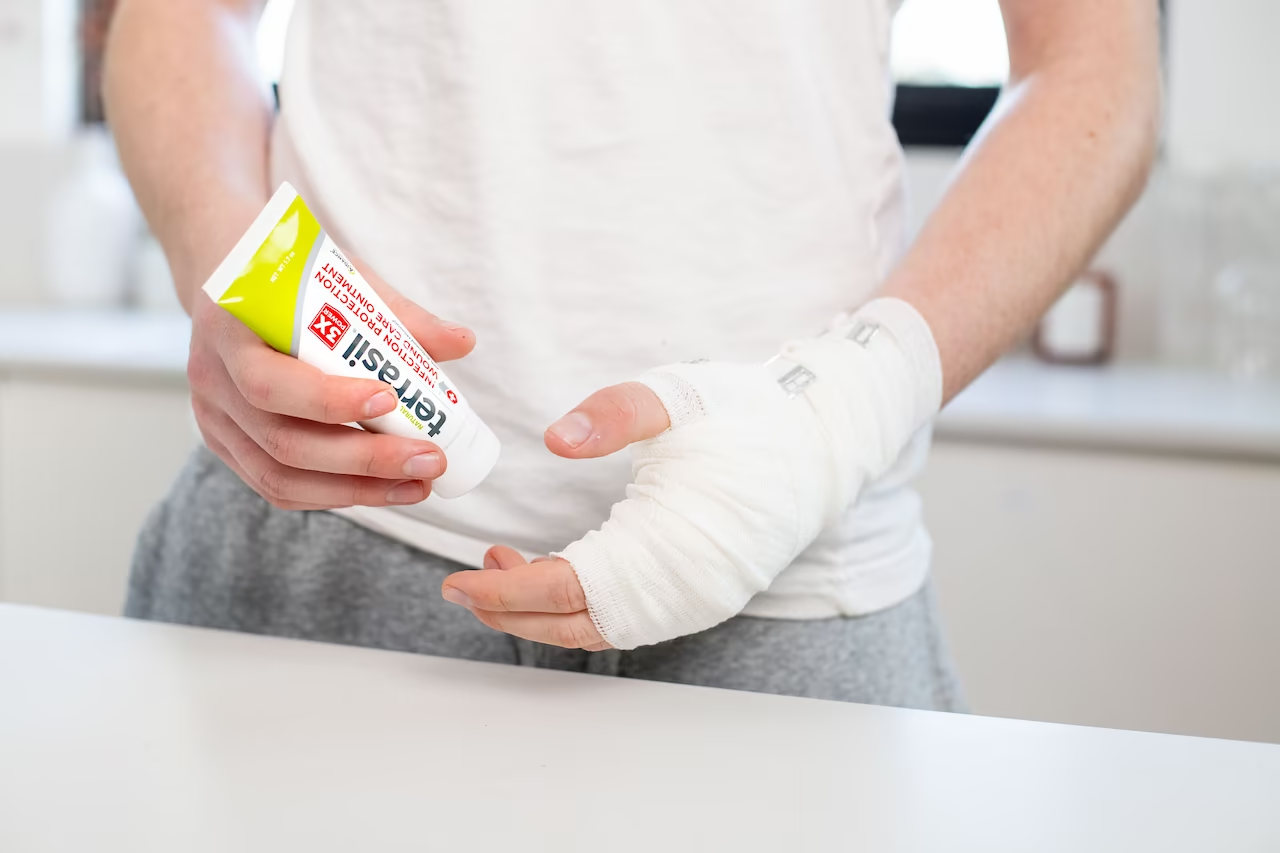
This is the foundation. After gentle cleansing, a high-quality first-aid ointment supports your body’s natural defenses while protecting the wound. The right product should help kill bacteria, reduce the risk of infection, protect damaged skin, and promote faster healing—all within the OTC first-aid scope.² ⁵
terrasil® Infection-Protection Wound Care Ointment is your go-to here, and here’s why it actually matters. It features patented Activated Minerals® technology that accelerates your skin’s natural healing—but the real magic is what it doesn’t contain. Unlike harsh chemical-based ointments that strip your skin or leave it irritated, terrasil® combines high-quality natural moisturizers like jojoba oil and beeswax with gentle, effective ingredients that work with your skin barrier instead of against it.
This is important: your skin barrier is already compromised by the infection. Slathering on harsh chemicals can actually slow healing and cause additional irritation. terrasil® protects your skin while it heals, so you’re not fighting two battles at once. It’s gentle yet powerful, supports skin without drying, and won’t leave your wound feeling sticky or uncomfortable. Plus, it’s doctor-recommended and FDA-registered, so you know you’re using a first-aid product that meets regulatory standards.
Here’s the critical part: apply a thin layer. This is one of the biggest mistakes people make (we’ll talk more about it in the next section), but using too much ointment actually traps too much moisture and can slow healing. You want a light coating, not a glob. Think “barely visible” rather than “slathered on.”
Let it absorb for a minute or two, then bandage. Apply this routine twice daily—once in the morning and once in the evening—as part of your dressing change. Consistency matters more than frequency; twice daily is the sweet spot for supporting healing without overdoing it.
STEP #3: Cover With a Sterile, Breathable Dressing
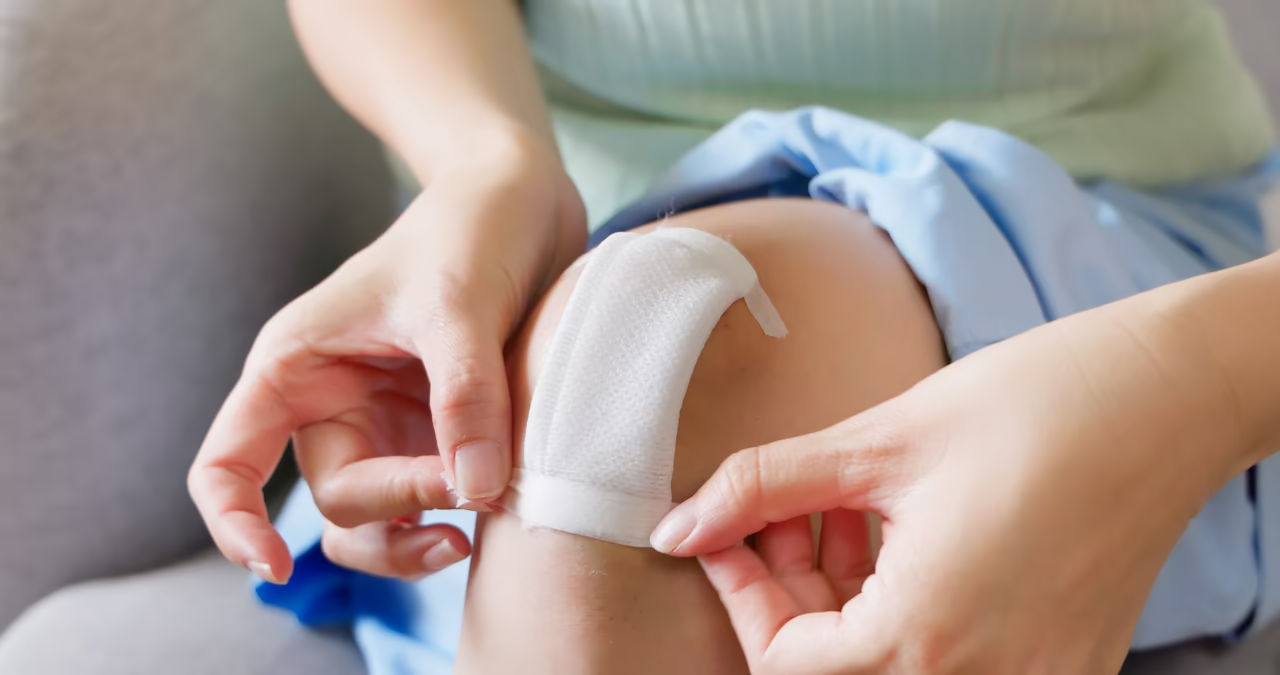
Once the wound is clean and protected with ointment, cover it with a sterile, breathable bandage or gauze pad. This keeps bacteria and dirt out while allowing the wound to breathe.¹ A moist healing environment (which a good ointment and dressing create together) typically leads to faster, less scarred recovery than letting wounds dry out.
Replace the dressing daily or immediately if it becomes wet, dirty, or loose. This simple routine dramatically reduces contamination risk and maintains an optimal healing environment.
STEP #4: Monitor Progress (24–48 Hours)
Within a day or two of consistent care, you should start to notice calming. The redness may begin to fade, tenderness should decrease, and any drainage may lighten. These are all signs your body is winning the fight.
If the area worsens—more pain, spreading redness, persistent or increased drainage, or a bad smell—that’s your cue to stop home care and see a healthcare provider.³ Don’t wait; infection can accelerate, and professional guidance matters at that point.
If you are ever unsure whether your wound is safe to treat at home, it is always appropriate to contact a healthcare professional for guidance.
The 6 Biggest Mistakes that Make Infected Wounds Worse
Here’s what I wish people knew before they started treating a wound at home. These mistakes are so common, and they all have the same result: slower healing and a wound that lingers way longer than it should.
Mistake #1: Over-Washing the Wound
I get it. Your instinct says “cleanliness is healing,” so you wash it multiple times a day. Maybe you’re using soap directly on the wound. Maybe you’re scrubbing it.
Here’s what actually happens: every time you wash, you’re disrupting the delicate environment your body is trying to create. You’re also stripping away protective fluids that help fight bacteria. Repeated washing—especially with harsh soaps or repeated hydrogen peroxide—irritates the tissue further and can extend healing by days.² ⁶
The fix: Wash once in the morning and once in the evening. Use mild soap on the surrounding skin, not directly in the wound. That’s it. In between, leave it alone.
Mistake #2: Applying Too Much Ointment
People see an infected wound and think more ointment = faster healing. Nope.
When you slather on a thick layer, you’re trapping too much moisture. The wound becomes overly wet, and that warm, damp environment can actually encourage bacterial growth rather than fight it. Plus, thick ointment doesn’t absorb properly, so it just sits there and collects dirt.
The fix: Apply a thin layer—think “barely visible.” You should see some of the original skin color through it. A little goes a long way, especially with quality products like terrasil®.
Mistake #3: Using the Wrong Type of Bandage
Not all bandages are created equal. Some are designed for dry wounds (think blisters), while others are better for infected wounds. If you’re using a standard adhesive bandage on an infected wound, you might be making things worse.
Here’s why: cheap bandages don’t breathe well, they don’t maintain the right moisture level, and they often stick directly to the wound. When you remove them, they can tear off new skin or reintroduce bacteria.
The fix: Use sterile gauze pads with breathable tape, or invest in medical-grade bandages designed for wound care. These are usually a bit pricier, but they actually speed healing and reduce pain during changes.
Mistake #4: Not Changing the Dressing Enough (or at All)
On the flip side, some people change their dressing once every few days or even longer. They think “if it’s not broken, don’t fix it.”
But here’s what’s happening underneath: bacteria are multiplying, dead skin and drainage are accumulating, and the ointment is degrading. By the time you finally change it, the wound has had days to worsen.¹ ²
The fix: Change your dressing daily, minimum. If it gets wet, dirty, or loose before then, change it immediately. This is the single most important habit for faster healing.
Mistake #5: Picking, Scratching, or “Checking” the Wound Constantly
I know it’s tempting to peek under the bandage, poke at it, or pick off a scab to “see how it’s healing.” But every time you do this, you’re:
- Introducing new bacteria from your fingers²
- Restarting the healing process
- Delaying the formation of protective tissue
- Increasing pain and inflammation
Some people even pick off early scabs, thinking they’re helping. You’re not. You’re resetting the clock.
The fix: Resist the urge. Change the dressing as scheduled, but don’t “check” the wound in between. Trust the process. Your body knows what to do if you leave it alone.
Mistake #6: Using Harsh Chemicals That Damage Your Skin Barrier
This is the one people don’t think about, but it’s huge. A lot of older wound-care products rely on harsh chemicals—strong antiseptics, alcohol-based solutions, iodine, repeated hydrogen peroxide—that are supposed to kill bacteria. And technically, they do. But they also damage the very skin barrier you’re trying to protect.
Here’s what happens: harsh chemicals strip away protective oils, irritate already-sensitive tissue, and can actually slow your skin’s natural healing response. Your immune system has to work harder because it’s now fighting both the infection and the chemical damage.² ⁶ You end up with a wound that takes longer to heal, feels more uncomfortable, and may even scar worse.
This is why natural, supportive ingredients matter. Products like terrasil® use high-quality natural moisturizers (jojoba oil, beeswax) alongside gentle, effective protection. Your skin barrier stays intact, your immune system can focus on fighting the infection, and healing happens faster. You get results without the collateral damage.
The fix: Skip the harsh chemicals. Choose ointments with natural ingredients that support your skin barrier instead of attacking it. Your skin will thank you – literally.
Step-by-Step Product Recommendation Table
Step | Recommended Option | Why It Helps |
|---|---|---|
Cleanse | terrasil® Calendula Cleansing Bar | Powerful yet gentle cleanse that maintains skin balance and won’t over-dry before ointment application. |
Protect | terrasil® Infection-Protection Wound Care Ointment | Kills bacteria, reduces risk of infection, and promotes faster healing within first-aid care using patented Activated Minerals® technology. |
Protect (Multipurpose) | Protects damaged skin and soothes while supporting recovery and natural healing. | |
Cover | Sterile, breathable dressing | Keeps the area clean and covered to support moist healing and reduce contamination. |
Prevention Strategies

An ounce of prevention really is worth a pound of cure. Here’s how to lower your risk of wound infection in the first place:
Keep your hands and nails clean. Wash hands before wound care, and keep nails trimmed short. Dirty fingernails are a common source of bacteria.¹
Clean and re-cover daily—but don’t obsess. Even a healing wound benefits from a daily gentle wash and fresh dressing. Don’t pick, scratch, or re-disturb the area between changes.²
Build a simple first-aid kit. Stock it with a gentle cleanser (like terrasil® Calendula Cleansing Bar), sterile gauze pads, breathable bandages, and a quality first-aid ointment. Having everything in one place means you’ll use it consistently and won’t be tempted to use whatever’s in the bathroom cabinet.
Review your tetanus status. If your wound came from something rusty or dirty, check when your last tetanus shot was. Most people need a booster every 10 years.¹
Avoid repeated use of hydrogen peroxide. Once or twice during initial cleaning may be acceptable, but ongoing use irritates tissue more than it helps.
These small habits stack up to real protection over time.
Frequently Asked Questions
The Bottom Line
Treating a minor infected wound at home comes down to consistency, gentleness, and avoiding the mistakes that derail healing. Clean once or twice daily (not obsessively), apply a thin layer of a proven first-aid ointment, cover with a sterile dressing, and change it regularly. terrasil® Infection-Protection Wound Care Ointment—featuring patented Activated Minerals® technology that works with your skin’s natural processes—supports faster, more effective relief while maintaining the skin barrier. Add the terrasil® Calendula Cleansing Bar for powerful yet gentle cleansing that maintains skin balance, and you’ve got a complete, evidence-based routine.
Build the habit, stick with it, and keep it gentle. And crucially: don’t overthink it. Most minor infections respond beautifully to this framework within 24–48 hours when you stop second-guessing yourself and let your skin do what it’s designed to do.
References
- Centers for Disease Control and Prevention (CDC). “Caring for Wounds / Tetanus Considerations.” Available at: https://www.cdc.gov
- National Health Service (NHS). “Cuts and Grazes: Treatment and Self-care.” Available at: https://www.nhs.uk
- Cleveland Clinic. “Wound Infection: Signs, Causes, and Treatments.” Available at: https://my.clevelandclinic.org
- Mayo Clinic. “First Aid for Cuts and Scrapes.” Available at: https://www.mayoclinic.org
- American Academy of Dermatology (AAD). “Proper Wound Care: How to Help a Cut Heal.” Available at: https://www.aad.org
- WebMD. “How to Clean a Wound the Right Way.” Available at: https://www.webmd.com


